Below you will find the errors that the Ally tool will display. The errors can be vague, so below you will also find a possible reason for the error and instructions on how to correct the error. In some cases, the documents will have so many errors that it would be more efficient if the document was recreated. Consider ADA best practices when creating the document.
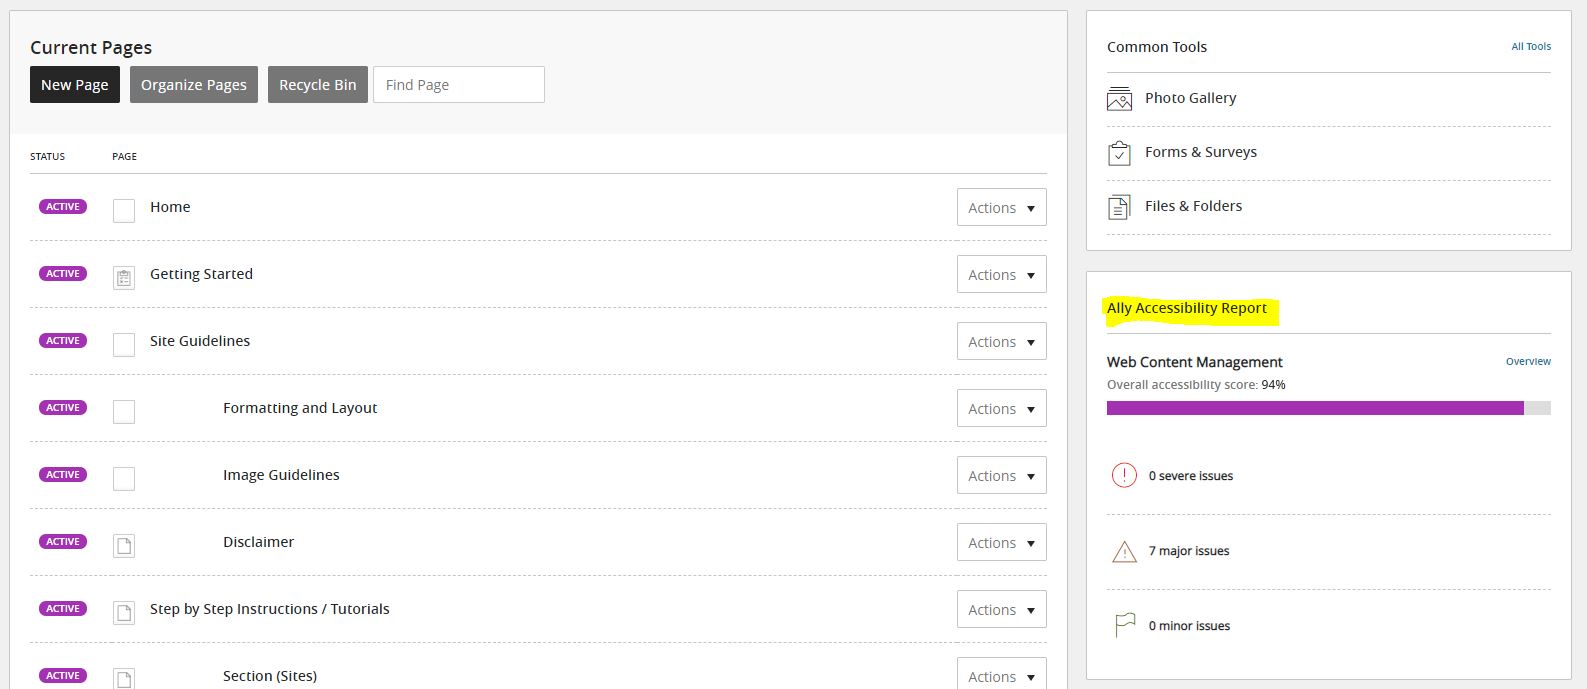
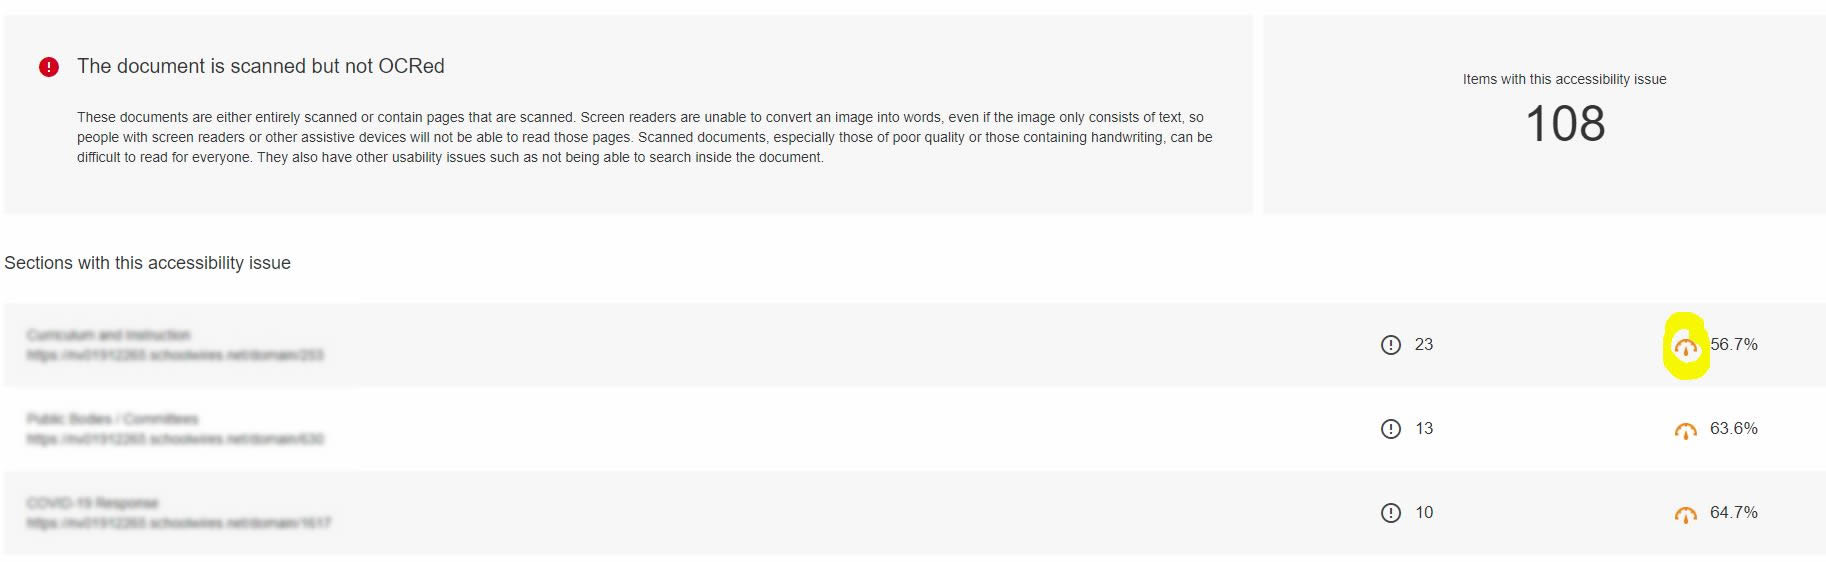
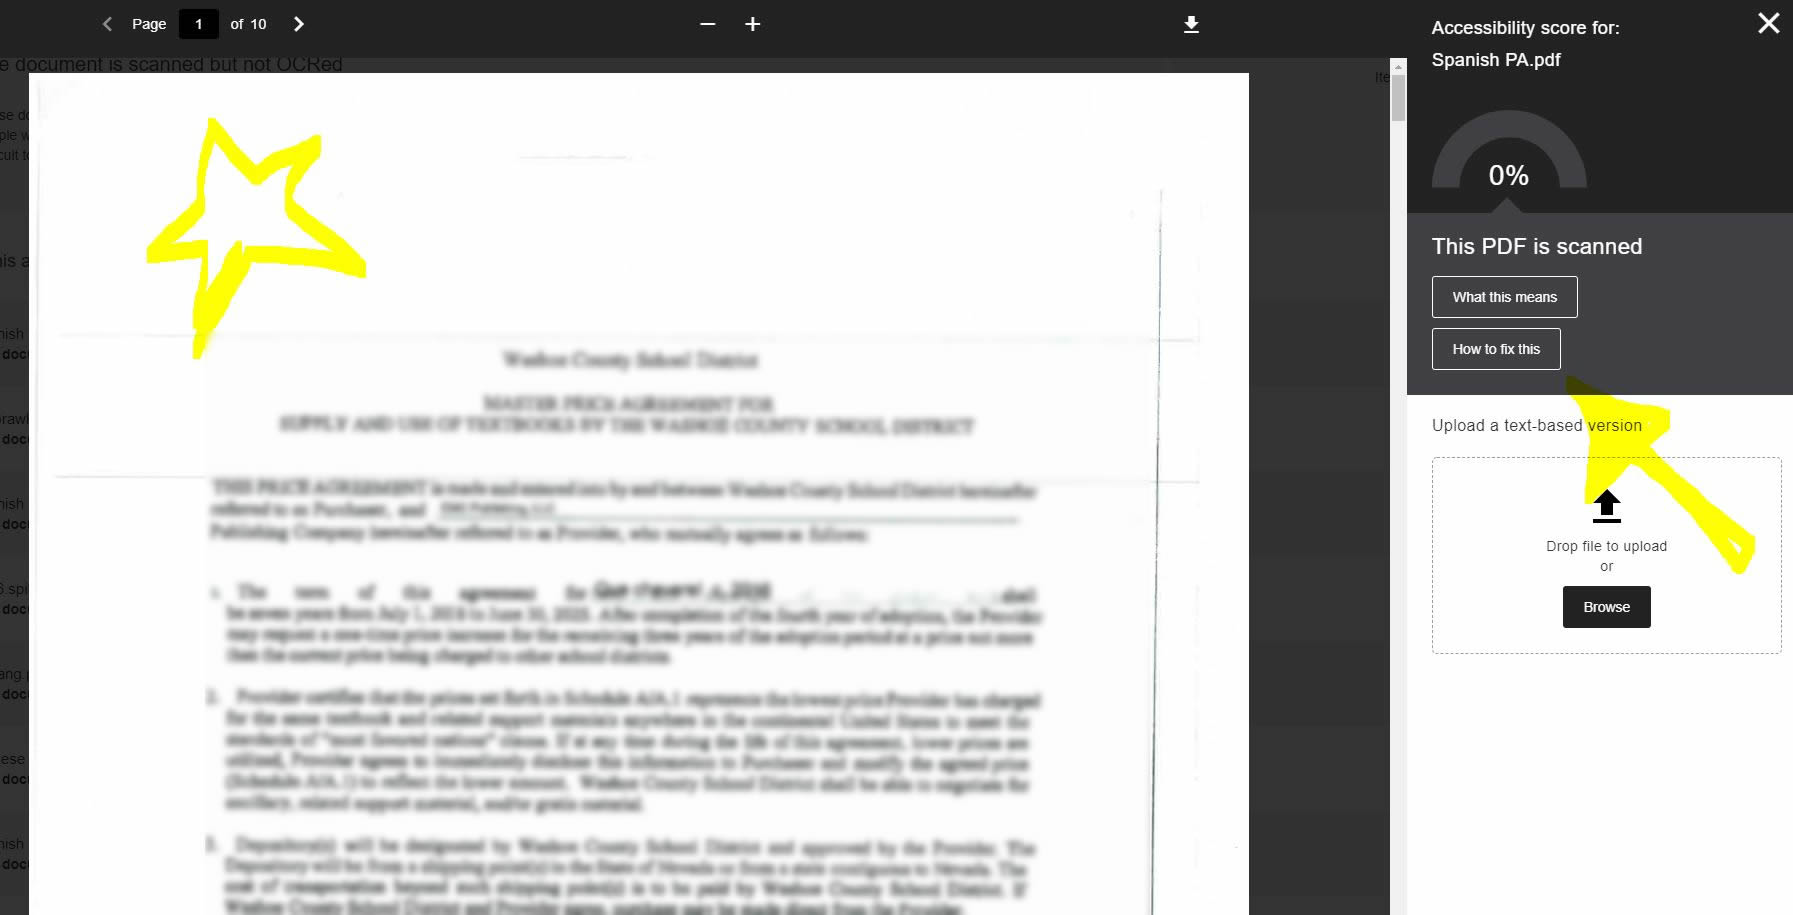
Error: (Document) The document is scanned but not OCRed
This is probably the most common error that the Ally tool reports. This means the document in question has an image with text in it. This can be a picture with useful information, but unless that same text is in text format on the page, it is not ADA accessible. The other and most common is that the document has been scanned (photocopy or scanner) and saved as a PDF or Word document.
Solution
- If the document is old and does not need to be on the website, remove it.
- Open the document in Acrobat Pro, and find the image that is possibly causing the issues. Mark the image as decorative and include the equivalent text in the document.
- Open the document in Acrobat Pro. If the document is a scanned image of the document, run the "Scan & OCR" tool. Save and upload the new version to your site. Make sure you remove the old version of the document.
Error: (Document) The document has no, or is missing, a title
This is a very common error on most documents, especially older documents. It is a difficult error to explain as the title of the document is not something you can see. It is not the name of the file or the title (heading) you give in the content of the document.
Solution: When you run the accessibility checker in Adobe Acrobat you will see this as one of the first errors. Right-click on the error and click on the fix from the menu. A settings box will appear, uncheck the check box and enter your document's title in the text field. If you received the missing title error, you more than likely received the logical reading order and color contrast errors when running the check. The logical reading order error wants you to check to see if the document reads in a normal manner, meaning left to right and from top to bottom. The color contrast error wants you to make sure that all the text is dark enough and on sufficient contrasting backgrounds to be properly read. Once you have checked the document for these errors you just need to right-click and select fix to close the error.
Error: (Document) The document has contrast issues
Contrast issues usually show up when text in a document has been changed from the default black to something with color. The color of the text must contrast the background sufficiently for the user to see it. In most cases, it is when someone uses the colors yellow, pink, or light blue with a white background.
Solution
- Open the document in Acrobat Pro or Microsoft Word and look for the colored text that is causing the issues. It could be as simple as having a date in a light grey format.
- Open the document in Acrobat Pro or Microsoft Word, highlight the entire document (ctrl +a), and select black from the text color tool.
- Save the document and upload the new version, remembering to remove the old version with the error.
Error: (Document) The document is untagged
The document is untagged error means that the document has multiple elements that make it hard for screen readers to follow a proper reading order. While you can correct this in Acrobat Pro, it is difficult and requires you to manually select the reading order of the elements in the document.
Solution
- The easiest solution would be to reformat or completely reconstruct your document so it has a simple reading order from right to left and top to bottom. Adding floating text boxes and grafts to your document makes it difficult for Adobe to figure out the logical order.
Error: (HTML) The HTML content has contrast issues
The HTML content has contrast issues. Usually, some HTML text element does not meet a specified contrast, which causes this error. This happens when you change the color of the text. When you change the color of the text, you have to make sure the color selected is directly contrasting the background color. The most common is using a lighter gray in the text for the date in the text. While visually appealing as it causes the text to stand out and not the date it can cause a contrast issue.
Error: (Document) The document does not have any headings
Documents without headings are very difficult for a screen reader to navigate. While the headings tool on the district site is usually wrongly used to change the size of the font, the real reason for creating headings is to make sure the user is reading the content in the correct order. A screen reader also uses the headings as navigational points on a webpage.
Solution
- In your documents make sure you use the heading tags correctly and in logical reading order. Example H1 -> H2 -> H3 is logical, but if you rearrange them it will make it difficult to understand how to read the document in a logical order. To correct this, make sure you are using the headings correctly so the content is in logical reading order.
Error: (Document) The document has tables that do not have any headers
Tables require headers to define the content that is being relayed to the table. Without these headers, screen readers are unable to relay the information.
Solution
- If you do not need a table to relay the information, get rid of it. Tables create problems and are rarely used correctly or even needed. It is best unless absolutely necessary to get rid of the table. This goes for both tables within a document and those on a web page. A table should never be used to format the content on your page.
- Add headers to the tables in the documents.
Error: (Document) The document contains images without a description
You will not see this error as much as in the past. The editor now requires alt text for all inserted images.
Solution
- Remove and add the image to your files and folders. When you add the image to your page, you will be asked to insert alternative text for the image. Make sure the image is descriptive to relay the image description effectively.
Error: HTML The HTML content contains broken links
This error means that somewhere on your page you have broken links (to documents or pages). The editor will tell you what link is broken.
Solution
- Update and correct any broken links. It is a good idea to regularly check your links. Even if a link is broken, you will want to make sure it still points to where you would like.
Error: HTML The HTML content contains video without captions
This error means you have uploaded a video or linked to a video that does not contain closed captioning.
Solution
- If you are going to upload videos to Youtube, you are responsible for making sure there is closed captioning for that video. In most cases, Youtube will auto-generate the captions for you. It is your responsibility to make sure the captions are correct.
- Create and add a transcript to go along with your video.